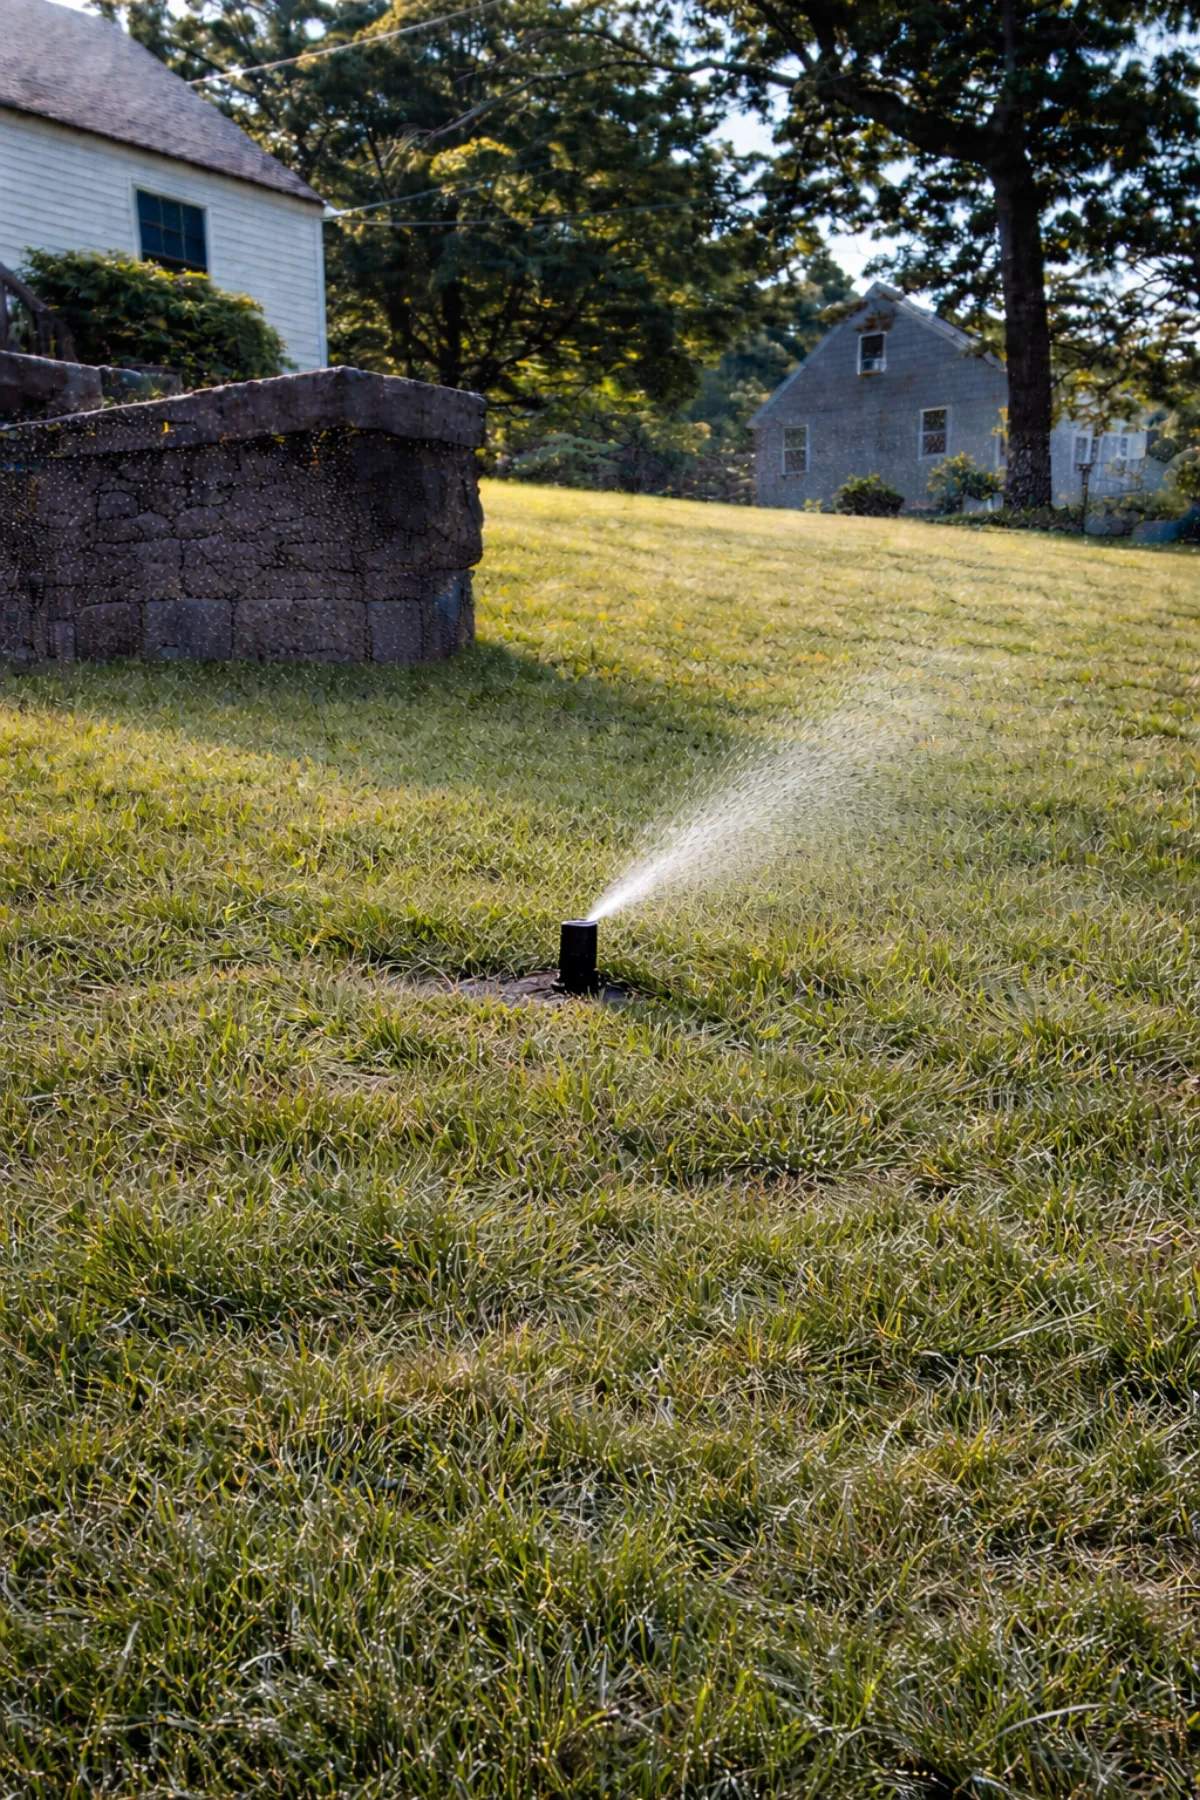
A sprinkler valve that won't open is the irrigation equivalent of a teenager who won't get out of bed. The signal is there, the wiring is fine, and yet nothing happens. The difference is that you can fix the valve in 15 minutes without anyone crying about it.
TL;DR: Most sprinkler valve repairs are a $10–$15 diaphragm kit and 30 minutes of work. If the valve body is cracked or the manifold is corroded, you're looking at $125–$250 per valve or $300–$600 for a manifold rebuild. Before you call anyone, walk through the five-minute diagnosis below. About a third of "broken valve" calls turn out to be a dead controller battery or a rain sensor doing its job.
What a sprinkler valve actually does
Your irrigation system has one valve per zone. Each one sits in a green box buried in your lawn, usually somewhere between the backflow preventer and the first head in the zone. Inside that box is a plastic body, a rubber diaphragm, and a solenoid (a small electromagnetic coil on top that receives the signal from your controller).
When the controller sends 24 volts to the solenoid, the diaphragm lifts, water flows to that zone's heads, and your lawn gets a drink. When the voltage stops, the diaphragm drops back down and seals the flow.
The diaphragm is the part that fails. After 10–15 years in a buried valve box (sometimes sitting in standing water, sometimes baking in July heat), the rubber hardens. It stops sealing. The valve either sticks open (zone runs constantly) or sticks closed (zone won't run at all). The solenoid corrodes too, especially in iron-heavy water towns like Tewksbury and parts of Chelmsford.
Neither failure means the valve body is dead. The plastic body lasts 25–30 years. The rubber inside it doesn't.
Five symptoms that point to a valve problem
Before you grab a shovel, make sure the valve is actually the problem. Here's what to look for:
Zone won't turn on. You run the zone from the controller and nothing happens. No heads pop up, no water flows. This could be the valve, but it could also be a wiring fault between the controller and the valve box. Check the controller display first.
Zone won't turn off. The zone runs and runs, even after the controller cycle ends. This is usually a stuck-open diaphragm or a failed solenoid that's not receiving the "close" signal. Shut off the mainline supply before the backflow if this happens. A stuck valve can dump 600 gallons an hour into your lawn.
Low pressure in one zone. If one zone has noticeably weaker coverage than the others, the valve might be only partially opening. The diaphragm is worn but not completely failed. This is the slow leak of valve problems. It works, just not well.
Hissing or buzzing at the valve box. A constant hissing sound from the valve box when the system is off usually means the diaphragm isn't sealing completely. Water is passing through at low flow. You'll also see the valve box filling with water over time.
Controller shows the zone running but nothing's happening. The controller thinks it's sending power. The valve isn't responding. This points to a corroded solenoid or a wiring break between the controller and the valve.
The five-minute diagnosis (do this before calling anyone)
I've made the drive to a "broken zone" that turned out be a dead 9V battery in the controller. I've made the drive to a "broken valve" that turned out to be the rain sensor doing exactly what it was designed to do because it rained the night before. About a third of the calls we get dissolve in 10 minutes with no truck involved.
Here's the five-minute check:
Step 1: Check the controller display. Is it showing the correct time? Is the backup battery alive? A dead battery means the controller loses its programming, and when it reboots, it might not remember your zone schedules. Replace the battery. It's a $4 part at any hardware store.
Step 2: Check the rain sensor. Most Massachusetts systems have a rain sensor on the eave. If the sensor light is blinking or the indicator shows "rain detected," the system is doing its job. Wait 24 hours and try again.
Step 3: Try running the zone manually. Use the controller's manual start function, not the automatic schedule. If the zone runs manually but not on schedule, the problem is the programming, not the valve.
Step 4: Listen at the valve box. Find the valve box for the problem zone (it's usually near the zone's first head, between the backflow and the lawn). With the zone set to run, listen for a click or hum from the solenoid. If you hear it, the signal is reaching the valve and the problem is inside the valve. If you don't hear it, the problem is the wiring.
Step 5: Check the solenoid manually. Most solenoids have a manual override (a small bleeder screw or lever on top). Turn it slowly. If the zone starts running, the solenoid is receiving power but the diaphragm isn't responding. That's a rebuild.
If steps 1–3 solve the problem, you just saved yourself a service call. If steps 4–5 point to the valve, keep reading.
DIY sprinkler valve repair: what you can actually fix
If you're handy and comfortable working with PVC, a diaphragm rebuild is a reasonable DIY job. Here's what's involved:
What you need: A replacement diaphragm kit (matches your valve brand: Hunter, Rain Bird, or Irritrol), a flathead screwdriver, and about 30 minutes. The kit costs $10–$15 at any irrigation supply house or online.
Step 1: Shut off the water supply at the mainline valve before the backflow preventer.
Step 2: Remove the solenoid (the cylindrical piece on top of the valve) by unscrewing it counterclockwise. Note which wire connects where. Take a photo before you disconnect anything.
Step 3: Remove the valve bonnet (the top half of the valve body). Usually four screws or a threaded ring.
Step 4: Lift out the old diaphragm. It'll be stiff, cracked, or warped. Compare it to the new one to make sure you have the right part.
Step 5: Clean the valve seat inside the body. Any grit, mineral buildup, or rubber debris will prevent the new diaphragm from sealing.
Step 6: Install the new diaphragm, replace the bonnet, reconnect the solenoid, and turn the water back on slowly. Run the zone manually to check for leaks.
Step 7: If the zone runs and shuts off cleanly, you're done. If it still sticks, the valve body might be cracked or the solenoid might be corroded. That's a pro job.
The whole process takes 20–45 minutes depending on how easy the valve box is to access. If the box is buried under mulch, filled with water, or located under a patio extension someone added in 2015 (the one nobody told you about), the repair gets more complicated.
When to stop reading this and just call someone
There are three situations where DIY stops making sense:
The valve body is cracked. If the plastic body itself is broken (usually from freeze damage or a shovel strike), the whole valve needs to be replaced. That means cutting PVC pipes, gluing new fittings, and making sure the new valve matches the existing pipe size. One wrong glue joint and you're flooding the valve box.
Multiple valves on the same manifold are failing. If one valve is 15 years old and failing, the others on the same manifold are probably close behind. They were installed the same day, with the same rubber, in the same water. Rebuilding a manifold is a $300–$600 job that's worth doing right. Replacing one valve and leaving the other three is like changing one tire on a car with 60,000 miles on all four.
The wiring between the controller and the valve is damaged. Wiring faults (usually from rodents chewing through direct-burial wire or from a landscaper's edger) require a wire locator and splice kit. Finding a break in 200 feet of buried wire without a locator is like finding a needle in a haystack, except the haystack is your entire lawn and the needle is a copper strand the width of a paperclip.
Repair vs replace: the honest breakdown
Nine times out of ten, the rebuild is the right call. Here's the math:
| What's involved | Parts cost | EMI price range | When it's the right call |
|---|---|---|---|
| Diaphragm rebuild kit | $10–$15 | $95–$175 | Valve body is intact, diaphragm is worn or solenoid is corroded |
| Full valve replacement | $15–$30 | $125–$250 | Valve body is cracked, fitting is broken, or access requires excavation |
| Manifold rebuild (multiple valves) | $50–$120 | $300–$600 | Multiple valves failing on the same manifold |
The rebuild takes 30–45 minutes per valve. The replacement takes 45–90 minutes depending on pipe depth and whether the valve box needs to be re-set. Manifold work is the wildcard. If all your valves are in one box and three of them are failing, rebuilding the whole manifold in one visit is usually cheaper than three separate service calls.
The valve body itself is $15–$30 at Home Depot. You're paying for the labor, the diagnosis, and the fact that the person doing it knows which wire goes where.
What drives the price up or down
Three things move the needle more than anything else.
Access. A valve sitting in a dry valve box in the middle of a flat lawn is a 30-minute job. A valve buried under a patio extension someone added in 2015 (the one nobody told us about) is a half-day excavation. We've opened valve boxes filled with landscaping gravel, mulch, and in one memorable case, a decorative stepping stone glued directly to the lid. (The homeowner apologized. I charged the same amount.)
Number of valves. If one valve is failing, the others on the same manifold are probably close behind. The labor savings on doing them together is real. It's 20 minutes extra per valve, not 45 minutes per separate visit.
Soil and water conditions. In towns like Tewksbury where the town water carries iron, solenoids corrode faster. In Chelmsford's clay-heavy zones near Billerica Road, valve boxes hold water longer and the diaphragms degrade from constant moisture. Sandy soil near the Westford line drains better. Those valve boxes tend to be drier and the components last longer. Same hardware, different zip code, different lifespan.
When you don't need us at all
If your system is under 10 years old and one valve is acting up, try the five-minute diagnosis first. Replace the controller battery ($4). Check the rain sensor. Run the zone manually. Nine times out of ten, the problem is simpler than you think.
If the valve truly needs a rebuild and you're comfortable with the DIY steps above, a $15 diaphragm kit and 30 minutes of your time is a legitimate fix. We won't pretend otherwise.
Where we come in is when the diagnosis points to something more than a diaphragm: wiring faults, manifold failures, cracked bodies, or valve boxes that require excavation. That's where the $15 part becomes a $300 repair, and where doing it wrong means a flooded basement or a system that runs through the winter.
Straight answers
How do I know if my sprinkler valve is bad or if it's the controller? Run the zone manually from the controller. If it runs manually, the valve is fine and the problem is the schedule or programming. If it doesn't run manually, check the rain sensor and controller battery. If those are fine, the valve is the likely culprit.
Can I repair a sprinkler valve myself? Yes, if it's a diaphragm rebuild and you're comfortable with basic plumbing. The part costs $10–$15 and the job takes 30 minutes. If the valve body is cracked or the wiring is damaged, call a pro.
How much does it cost to repair a sprinkler valve in Massachusetts? A diaphragm rebuild runs $95–$175 per valve. A full replacement runs $125–$250. A manifold rebuild (multiple valves) runs $300–$600. The valve body itself is $15–$30. You're paying for diagnosis and labor.
Why does my sprinkler valve keep sticking? Hardened diaphragm rubber, usually from age (10+ years) or constant moisture in the valve box. In iron-heavy water towns like Tewksbury, solenoid corrosion is also a factor. Replacing the diaphragm kit usually solves it.
Should I repair or replace a sprinkler valve? Repair (rebuild) if the valve body is intact. It's cheaper and takes less time. Replace if the body is cracked, the fittings are broken, or the access requires excavation. Nine times out of ten, the rebuild is the right call.
What causes sprinkler valves to fail? Age. Rubber diaphragms harden after 10–15 years. Solenoids corrode faster in iron-rich water. Standing water in the valve box accelerates both. Builder-grade systems from the 2000s residential boom are hitting end-of-life on a predictable schedule right now.
How long does a sprinkler valve repair take? A straightforward diaphragm rebuild takes 30–45 minutes. A full valve replacement takes 45–90 minutes. Manifold work is variable: 1–3 hours depending on how many valves and how accessible the box is.
Can a bad sprinkler valve waste water? A stuck-open valve can dump 600+ gallons per hour into your lawn, 24 hours a day, until you shut off the mainline supply. A partially-open valve wastes less but continuously. Either way, your water bill will remind you.
Nick has been repairing irrigation systems across Middlesex County since 2000. If your valve is acting up and the five-minute diagnosis didn't fix it, call EMI Irrigation at 781-983-3739. We'll tell you honestly whether you need a $15 part or a $300 repair. We won't sell you a new system when a rebuild will do.
Ready to get your system handled?
EMI Irrigation — family-owned, serving the greater Billerica area and Southern NH.