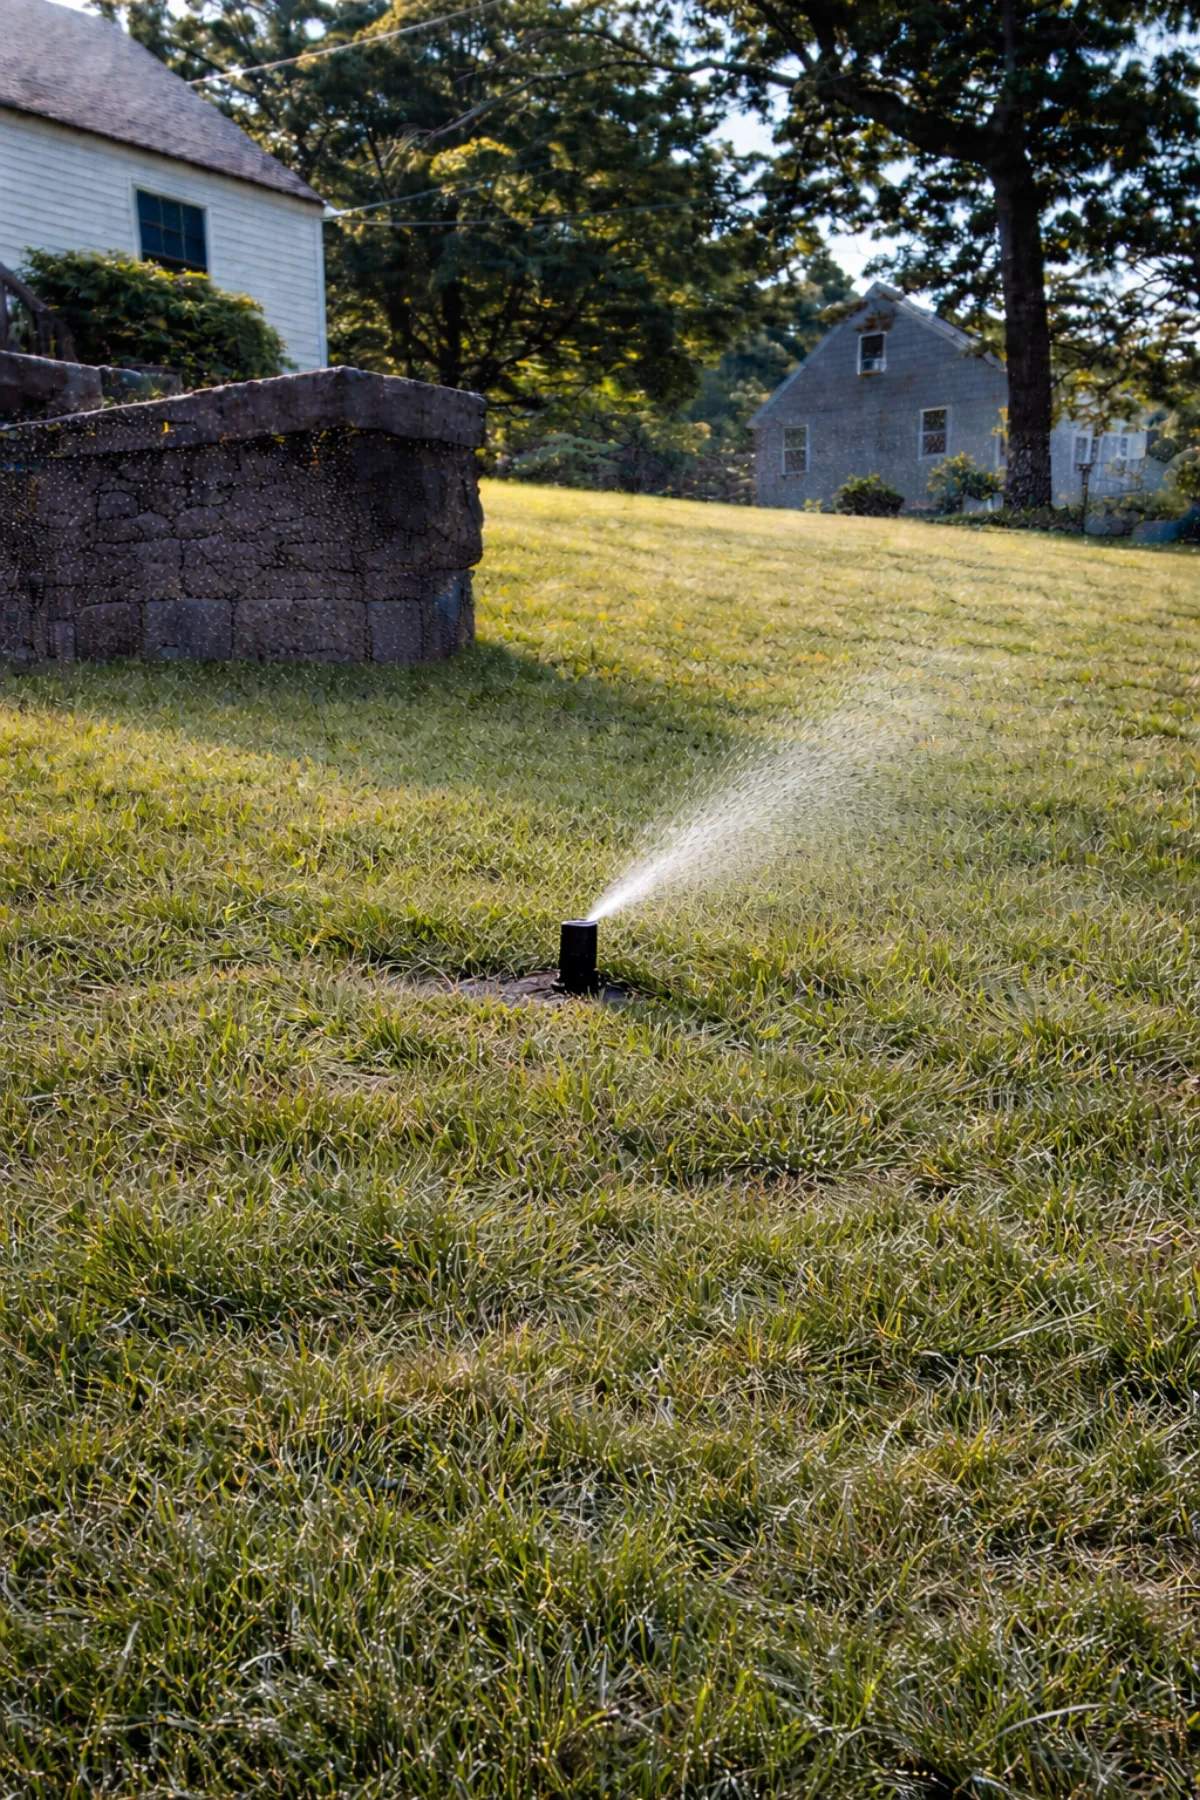
Winterization of an irrigation system means getting every drop of water out before the first freeze. That's it. Not complicated, not mysterious, just compressed air pushed through every zone until the heads spit air instead of water. If you skip it, the water that's left in your pipes does what water does in Massachusetts in January, it expands, it freezes, and it cracks things. Usually the $600 brass thing on the side of your house.
I've been winterizing systems across Middlesex County since 2000. The number of spring service calls that start with "I didn't get around to winterizing" is, at this point, the single most predictable line item on our schedule. Like clockwork, but with more swearing.
TL;DR
Winterization removes all water from your irrigation system before freezing temperatures arrive. In Massachusetts, schedule it between early October and mid-November. The process takes 20–45 minutes and costs $100–$150 for a standard residential system. Skipping it risks $400–$800 in freeze damage, mostly to the backflow preventer. A commercial compressor at 50–80 PSI is required. DIY is possible but the risk-to-savings math doesn't work for most homeowners.
For a look at what winterization costs in detail (including membership pricing), see our sprinkler winterization cost guide.
What actually happens during winterization
The process has four steps. Most people focus on the blowout and forget the other three.
Step 1: Shut off the water supply. The isolation valve near your water meter or backflow preventer gets turned off. This disconnects the irrigation system from your house water. If you don't have an isolation valve, we install one. It's a $50–$100 part that makes every future service call easier.
Step 2: Blow out each zone. A commercial compressor connects to the system's blowout port. We run each zone individually at 50–80 PSI (25–40 CFM) until the heads spit air instead of water. This takes 2–5 minutes per zone. A typical 6-zone system takes about 20 minutes for the blowout alone.
The pressure matters more than people think. Too much pressure, anything above 80 PSI, cracks fittings, damages head seals, and can blow the diaphragm out of a valve. Too little pressure leaves water sitting in low spots and elbow joints. We've seen homeowners hook up their garage compressor at 150 PSI and blow the nozzle off every head on the property. The compressor wasn't wrong. The pressure setting was.
Step 3: Open drain valves and relieve pressure. After the blowout, we open any manual drain valves and let residual pressure bleed off. Low spots in the lateral lines still hold a cup or two of water even after a proper blowout, the drains let that out by gravity.
Step 4: Insulate above-ground components. The backflow preventer, that brass assembly on the side of your house, sits above ground and is the most freeze-vulnerable part of the system. We wrap it with foam insulation tape and a plastic bag. Some homeowners skip this step. Those homeowners call us in April.
The Massachusetts timing window
In Middlesex County, the first hard freeze usually hits mid-to-late November. But the safe winterization window opens in early October, and there's a reason to book early.
The pattern we see every year: a warm October lulls people into waiting. Then a sudden cold snap in mid-November drops overnight temps to 25°F for two or three nights. By then, every irrigation company in the county is booked solid for two weeks. The homeowners who waited are the ones with cracked backflow preventers in April.
Book in October. Not November. Not "when it starts getting cold." October.
We start winterization appointments in early October and run through mid-November. The actual freeze risk is low in early October, but getting it done early means you're not scrambling when the forecast turns.
For systems in towns with early frost exposure (Wilmington's I-93 wind corridor, Bedford's higher elevations near Hanscom, hilltop properties in Groton), we recommend scheduling in the first two weeks of October. Wind chill accelerates freezing at exposed fittings.
DIY vs. hiring a professional
I've talked homeowners through DIY winterization over the phone. I've also told dozens more to rent the right compressor or just hire someone. Here's the honest breakdown.
What you need for DIY:
- A commercial compressor rated at 25–40 CFM at 50–80 PSI
- A blowout adapter fitting for your system's port
- Knowledge of which zones to run in which order
- About 30–45 minutes
The problem: The pancake compressor in your garage puts out 2–4 CFM. That's not enough volume to push water through 100 feet of 1-inch PVC. You'll hear air at the heads, but there's still water sitting in the low spots. A rental compressor from Home Depot runs about $50–$80/day and usually delivers enough CFM, but you need to know the right pressure setting for your specific system.
The math:
| DIY | Professional | |
|---|---|---|
| Compressor rental | $50–$80 | included |
| Blowout adapter | $15–$25 | included |
| Risk of wrong pressure | real ($400–$800 if you crack the backflow) | zero |
| Time | 1–2 hours (first time) | 20–45 minutes |
| Total cost | $65–$105 + risk | $100–$150, no risk |
If you already own a commercial compressor and you've done it before, DIY saves you $100. If you're renting equipment and doing it for the first time, the savings are $0–$50 and the risk is significantly higher. We've fixed more than a few DIY blowouts where the homeowner cracked a backflow fitting or blew the diaphragm out of a valve by running too much pressure.
My honest recommendation: if your system is under 5 years old and you're comfortable with the equipment, try it once with a rental compressor at 50 PSI. If your system is 10+ years old, or you've never done it, hire someone. The $100–$150 buys you a guarantee that nothing gets cracked.
What happens if you skip it
This is the section I wish I didn't have to write, but it's the reason half our spring schedule exists.
Cracked backflow preventer. The brass assembly on the side of your house is the most expensive single component in the system. Water sits inside it year-round. When that water freezes, the brass body cracks. Replacement: $400–$800. A proper winterization would have cost $100–$150.
Cracked PVC pipes. The mainline is buried below the frost line (12 inches in zone 6a), so it's usually fine. But lateral lines are only 6–8 inches down, and low spots in the line hold water even after draining. Freeze-thaw cycles crack those sections. Repair: $150–$350 per section.
Cracked valve bodies. The valve manifold sits in a green box at ground level, sometimes in standing water. Water that wasn't blown out of the valve body freezes and cracks the PVC or brass housing. Full manifold rebuild: $300–$600.
Broken pop-up stems. Water trapped inside the pop-up housing freezes and snaps the spring-loaded stem. The head won't pop up next spring. Replacement: $75–$150 per head.
The Burlington pattern. We service a lot of systems in Burlington that were installed during the 2000s residential build wave, systems put in by framers chasing schedules, not irrigation specialists. Those systems are now 15–20 years old. The backflow preventers have never been replaced. The valve diaphragms are turning into Triscuits (my apprentice's technical term). When one of those systems skips winterization, the damage isn't $150, it's $600–$1,200 because everything is already at end of life and one freeze pushes it all over the edge.
The Tewksbury iron complication
If you're in Tewksbury, your town water carries enough iron to clog sprinkler nozzles within a single season. During winterization, we also flush the nozzle orifices with the air blowout to clear iron sludge before it sits all winter and hardens. By spring, that sludge is concrete. Getting it out in October during the blowout saves you a nozzle-replacement bill in April.
We install a $15–$25 stainless mesh inline filter at the backflow on every Tewksbury system as standard. It cuts the iron maintenance load by about 70%. If you're in Tewksbury and you don't have one, ask about it at your next winterization.
When you probably don't need us
Here's where I talk you out of a service call.
If your system is brand new (installed this year) and the installer winterized it properly, you're fine. Check that the backflow preventer is insulated and the controller is set to off or rain mode. New systems have fewer failure points.
If you have a manual drain system and you know how to use it, meaning you've opened every drain valve, confirmed water is draining from all low points, and you've insulated the backflow, you can skip the blowout. But in Massachusetts, I still recommend a blowout after draining. Manual drain valves don't get the water out of valve boxes, low spots, or the backflow body. A $100 blowout is insurance against the $400–$800 you'll spend if you missed a spot.
If your system has been disconnected and drained for years and you're not planning to use it, there's nothing to winterize. Just make sure the backflow preventer is insulated if it's still connected to the house water.
The honest pricing band
| Service | EMI Price |
|---|---|
| Winterization (standard residential, 4–8 zones) | $100–$150 |
| Winterization (10+ zones) | $150–$175 |
| Backflow preventer insulation | included |
| EMI 1-Year Membership (winterization + spring start-up + mid-season check + service call) | $410 |
The membership makes the most sense on systems older than 10 years. If you're paying for winterization ($100–$150) and spring start-up ($95–$125) separately, you're already at $195–$275 before anything goes wrong. Add one service call during the season and you've spent more than the membership. For systems under 5 years, pay per service and you're ahead.
We don't do "starting at $49" with a surprise invoice. The price we quote on the phone is the price on the bill.
Straight answers
Q: What is winterization of an irrigation system?
A: It's the process of removing all water from your sprinkler system before freezing temperatures arrive. In Massachusetts, that means blowing compressed air through every zone to clear the pipes, heads, and fittings. Water left in the system expands when it freezes and cracks PVC pipes, brass backflow preventers, and valve bodies. A proper winterization costs $100–$150 and takes 20–45 minutes.
Q: When should I winterize my irrigation system in Massachusetts?
A: Between early October and mid-November, once overnight lows start dipping toward 32°F but before the first hard freeze. In Middlesex County, the first hard freeze usually hits mid-to-late November. Don't wait for the freeze warning, book in October. The best slots fill by early October, and a warm October week followed by a sudden freeze is the most common damage pattern we see.
Q: Can I winterize my irrigation system myself?
A: Technically yes, but the risk-to-savings ratio is rough. You need a commercial compressor (25–40 CFM at 50–80 PSI), not the pancake compressor in your garage. Using too much pressure cracks fittings. Using too little leaves water in the lines. A professional winterization costs $100–$150. A cracked backflow preventer from a DIY attempt costs $400–$800. The math favors hiring someone.
Q: What happens if I don't winterize my sprinkler system?
A: Water left in the pipes, heads, and backflow preventer freezes and expands. PVC pipes crack. Brass backflow bodies split. Valve diaphragms tear. Pop-up stems snap. We see $400–$800 in repairs every spring from systems that weren't winterized. The backflow preventer alone is $400–$800 to replace. A $100–$150 winterization prevents all of it.
Q: How much does irrigation winterization cost in Massachusetts?
A: For a standard residential system in Middlesex County, expect $100–$150. A 4-zone system is on the lower end. A 10+ zone system is on the higher end. EMI's 1-Year Membership at $410 includes winterization, spring start-up, a mid-season check-in, and a service call, cheaper than paying for winterization and spring start-up separately ($195–$275 combined).
Q: Is winterization the same as a sprinkler blowout?
A: Yes, mostly. A blowout is the core step, compressed air through each zone to clear the water. Full winterization includes the blowout plus shutting off the water supply, opening drain valves, insulating above-ground pipes and the backflow preventer, and checking that the controller is set to off or rain mode. Some companies use the terms interchangeably.
Q: Do I need to winterize if I have a drain valve system?
A: Yes. Manual drain valves don't get all the water out. Low spots, valve boxes, and the backflow preventer still hold water after the drains are opened. In Massachusetts, where we get 40+ freeze-thaw cycles per winter, that residual water is enough to crack fittings. A blowout after draining is the only way to be sure.
Winterization is one of those things that costs $100 and saves you $800, but only if you actually do it before the freeze. Like flossing, but for your lawn. And unlike flossing, I can do it for you. Call 781-983-3739 and we'll get you on the October schedule before the slots fill up.
Ready to get your system handled?
EMI Irrigation — family-owned, serving the greater Billerica area and Southern NH.